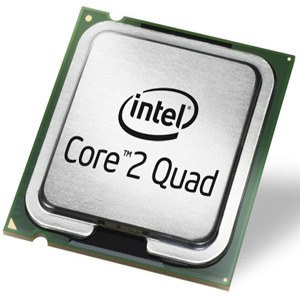
You can upgrade an older microprocessor to a newer one in easy steps. Before going ahead, you should gather information about which new CPU you need and whether your motherboard is compatible with it or not.
The compatibility of your new CPU with your motherboard can be ascertained by searching for specific information on the Internet, or checking with your trusted computer dealer.
Preparing to Upgrade to a New CPU
After purchasing the correct new CPU, make sure that adequate grounding is available before starting to replace the old CPU. To prevent damage to the fine circuits on the motherboard, wear a grounding strap attached to the computer’s chassis. This should be done several minutes before you get to work.
It is important to exercise extreme care when upgrading a CPU, because it is among the most fragile pieces of computer equipment.
Steps to Upgrade a CPU
- Ensure that the power supply to the computer is turned off and all accessories are detached.
- Remove the computer’s chassis cover carefully.
- Locate the CPU fan and heatsink and disconnect the CPU fan from its power supply.
- Remove the CPU’s heatsink on the motherboard, and find your computer's processor located below it.
- Remove the old CPU by lifting up the tab holding it in place, and gently pulling it out.
- The new CPU can be inserted by matching it correctly into position.
- Push down the tab to hold the new CPU into position.
- A thin, uniform layer of thermal compound should be applied before placing the heatsink back into position. This thermal compound is used to ensure improved conduction of heat from CPU to the heatsink.
- The heatsink can then be reinstalled, and the fan's wire connected back to its power supply on the motherboard.
- The next step will be to confirm that everything is properly connected, by gently trying to move the components.
- When you are satisfied with the new installation, screw the computer's cover back into place. You can now remove the grounding wrist-strap.
- Plug your computer into its power source, and attach all the accessories.
- Your computer can now be turned on and should be ready for use!

Follow Us!