A timeline is a tool used in a visual presentation in order to present data or unique events in a sequential fashion over a defined time frame. In the past, unique programs such as the Adobe or Corel tool suites were the only programs available to individuals capable of creating a professional product. Microsoft Word is capable of creating a timeline that can be used on business or school presentations at the same level as Adobe and other professional tools.
How to Make a Timeline on Microsoft Word
Step 1 – Double click the program icon on the computer’s desktop or choose the program icon from the “Program Files” sub-menu of the Windows “Start” menu to open Microsoft Word.
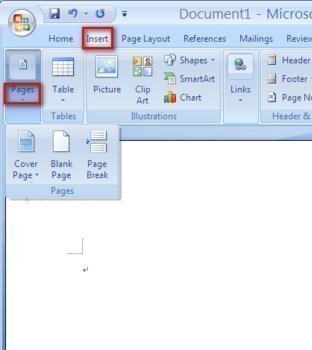
Step 2 – Click “File,” “New,” and “Document” in order to open a new document in Word.
Step 3 – Select the “File” and “Page Setup” menu options. Change the page layout to “landscape,” which will permit more room for items to be placed on the timeline.
Step 4 – Choose the “View” menu option, then select the “Toolbars” and “Drawing” menu options in order to open the “Drawing” toolbar.
Step 5 – Choose the “Rectangle Tool” on the Drawing tool bar and move the mouse pointer to the left-side of the page approximately half-way down the word document.
Step 6 – Click and drag the mouse pointer from the left-hand side of the screen to the right side while keeping the rectangle’s width thin.
Step 7 – Select the “Fill Color” toolbar icon to change the rectangle’s color. Click the desired color on the subsequently displayed color pallet.
Step 8 – Choose the “Line Tool” and create markers on the timeline by drawing a vertical line across the width of the rectangle. Line markers can also be placed beneath the timeline depending on how many events are being displayed in the presentation.
Step 9 – Insert text on the timeline by selecting the “Text Box” on the toolbar. Click and drag the small box of text to the end of the vertical line furthest from the rectangle in the middle of the page and insert the event and/ or year into the box.
Step 10 – Add additional text boxes to each of the vertical lines inserted that reflect major events along with the required information for the timeline label.
Step 11 – Save the timeline document to the computer to complete the project.

Follow Us!