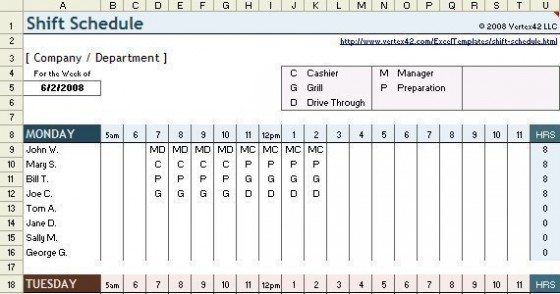
Microsoft Excel is commonly used to make a chart or spreadsheet, calculate formulas, generate time sheets or calendars, and make agendas. Many people do not realize that Excel is also great for keeping organized. One can use Excel to make a work schedule for employees or a personal schedule to keep one’s self on track. Excel can also be used to create a reminder about specific dates, appointments, and any type of schedule that one may need.
Excel schedules can even be made to keep track of the dates and times of football games. One can use an Excel schedule to keep all of one’s information organized, from football to work. 
Instructions to Make a Schedule in Excel
Follow these simple steps to create a multifaceted schedule in Excel:
- Open up Microsoft Excel.
- If using Excel 2010, click File then New. If using Excel 2007, click the Office button. If using an older version, click File then New.
- For Excel 2010, type Schedule into the Search box. For Excel 2007, click Microsoft Online in the Templates pane. For an older version, locate the Templates section on the task pane then type Schedule into the Search Online For box and click Go.
- Preview the schedule templates by clicking on them. Once one finds a suitable template, click the Download button. The schedule will then open up as an Excel worksheet.
- Double click the cell that contains any text one wants to change to alter any example text, then select the text that is already there and type over it with the information that one wants to put on the schedule.
- One will be able to change the cells’ color by clicking on the cell to select it. Right click and pick Format Cells. Select the Patterns tab then choose the color one wants in the Cell Shading Color section. After choosing a color, click OK to apply that color to the cell.
- Adjust the font in the cells by clicking on the cell, then right clicking and selecting Format Cells. Select the Fonts tab and choose a font type, size, style, and color. Click OK to apply the font changes to the cell.
- Press Ctrl+S on the keyboard to save one’s schedule.


Follow Us!